Wine Bottle Holder

I decided to try and build one that held three bottles that would be simple and quick to make, and cost less than $5 so kits could be made for parties. This is what I came up with. This one isn't perfect but it works, and now I have a template for the next one!
Supplies
- A 6 foot 1"x4" board can make 3 of these and costs around $4 per board = $1.50 per holder
- If you want to add a vinyl saying, it will cost between $1-2 depending on if you have a Cricut or you buy one online.
- Three 1.25" flat head screws similar to this. If you buy them in bulk you are probably using $.25 worth per holder.
- Stain or paint. I am going to assume you have something on hand and not adding into the cost.
- Paint brushes or sponges. I am going to assume you have these and not adding them to the cost.
- Table saw (or have the big box store cut them for you).
- Electric drill with hole cutter attachment.
Total = $3-$4 per holder
Instructions
First cut your board. You will need one board that is 13" long. When you cut it, cut it on a 45 degree angle. Then using the rest of the long board that now has one end already cut at a 45 degree angle, cut another board 9" long straight on. You will have two boards like this.

Take the longer board and measure 2" from the top mark the spot in the center of the board for the first hole. Then measure 4" from that mark to make a mark for the 2nd hole and 4" again for the 3rd hold. Then drill the three 1.5" holes in the boards using your drill and the correct hole cutting attachment.

You will now drill pilot holds into the short board that will be used as the bottom. It is my suggestion to clamp the boards together like they would look when finished so you can mark where the holes should be and drill the holes a little bigger than needed so you can countersink them. After drilling the pilot, drill the screws in to secure the two boards. Countersink the screws so your holder sits level. You can see mine was a little messy but when I sanded it later, it turned out just fine.

Sand your holder to get rid of splinters and make it smooth. This is the unfinished version. That simple!
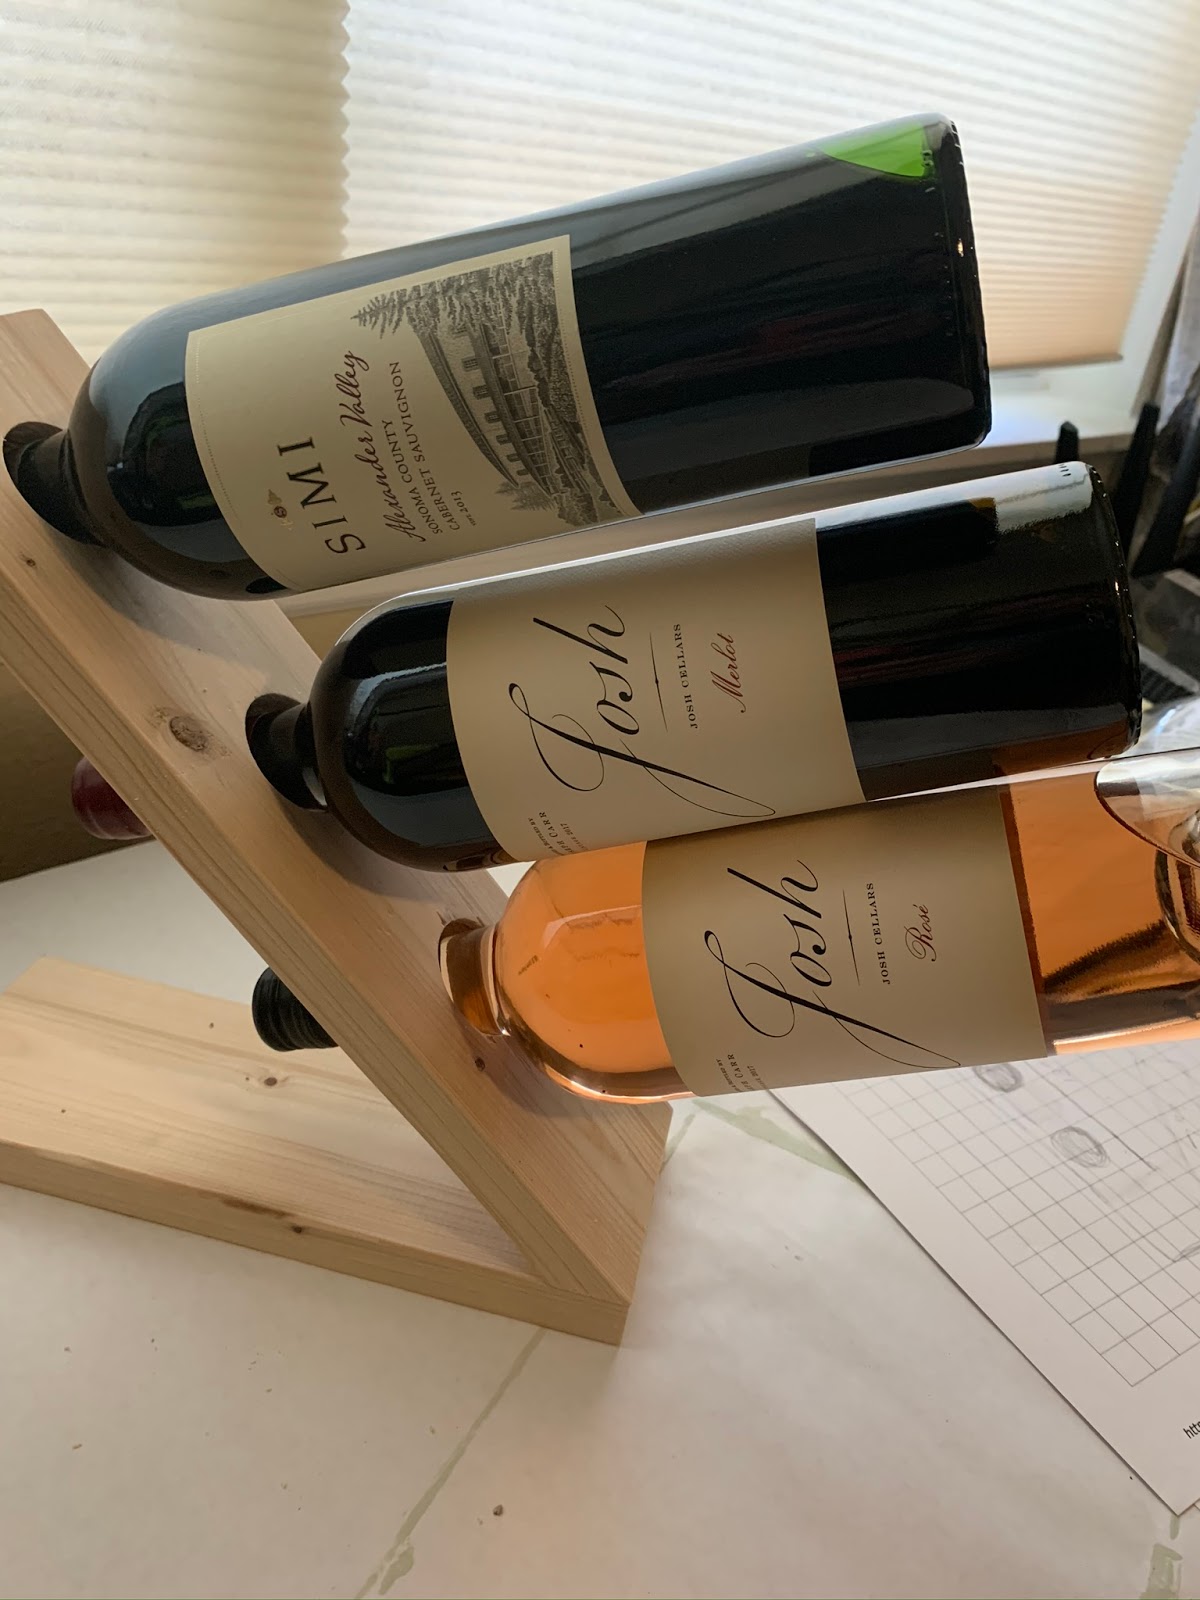
From here, you can be as creative as you want. I stained mine. You can use paint. I added a "Bottoms Up!" saying. You can add whatever you want or nothing at all.


Comments
Post a Comment