Cake Pan Tiered Tray
 |
I figured three might be a little too big and murphy's law says if I got rid of all three I would suddenly have a spring cake pan emergency. So I decided to use the large and small one and save the middle one for the next 10 years.
Supplies
- Two Cake pans
- Cheap candle stick
- Strong gorilla glue
- Hydroperoxide
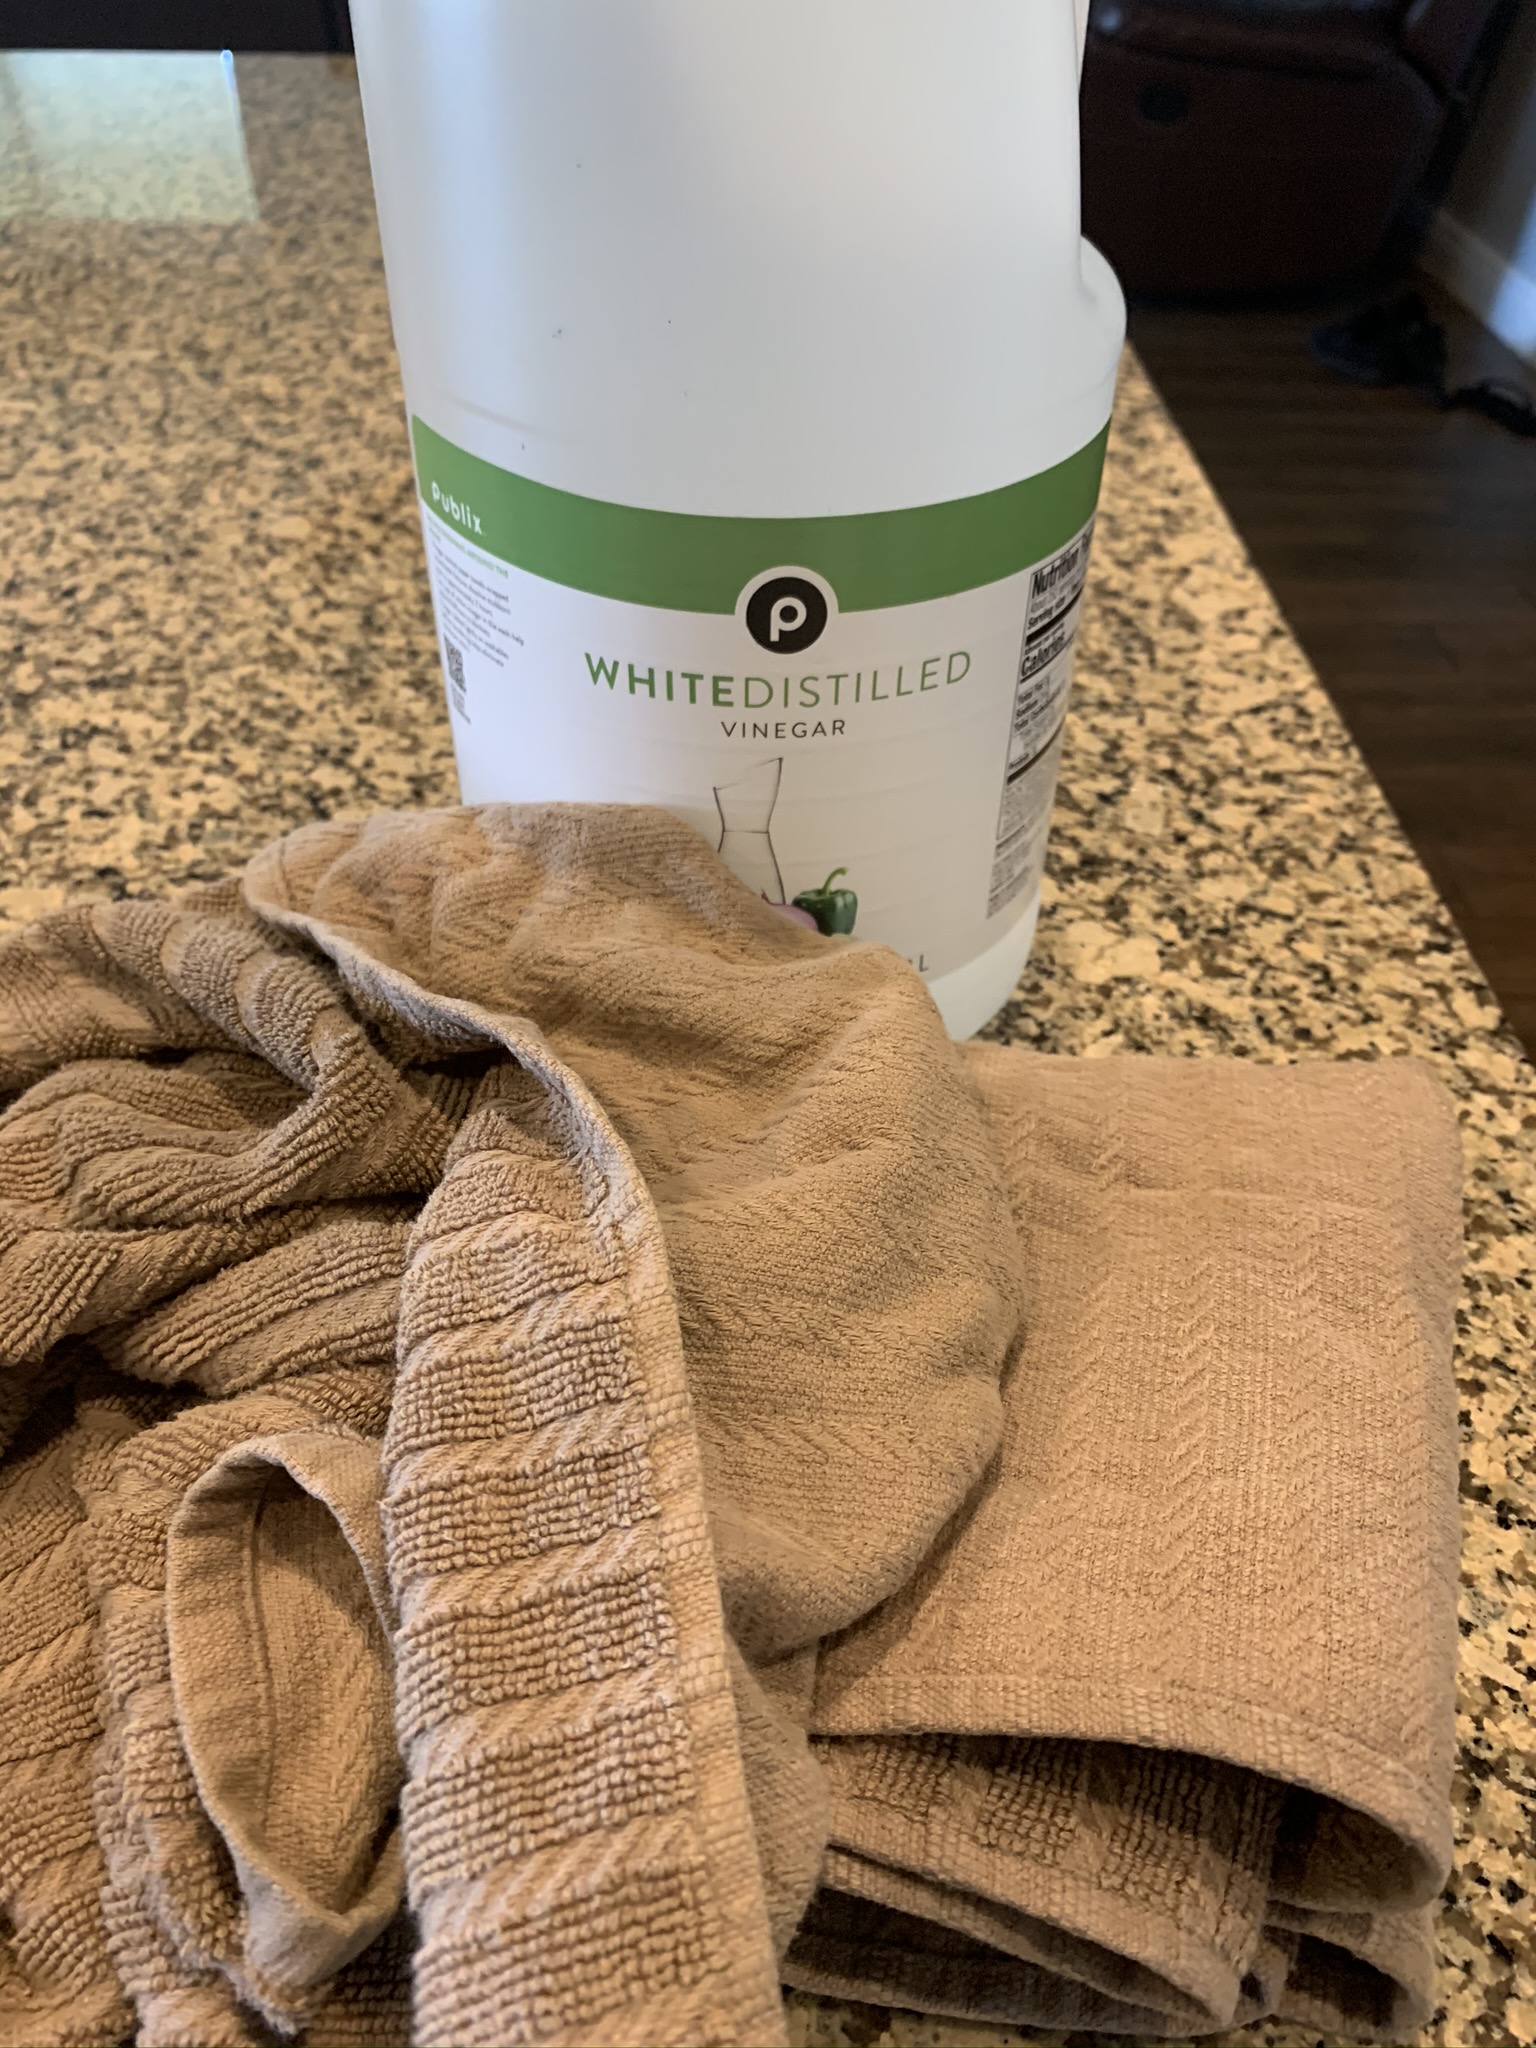
- Vinegar
- Salt
- Feet for the stand (I used rubber walker covers)
Instructions
First I found an old candle at Joann's on clearance for $2.50. I am sure you can find something similar at the Dollar Tree. But the pans looked too new for me. Not farmhouse looking enough!

After researching it, it appeared that I would need to experiment with hydroperoxide, vinegar, and salt to create some rust. First, I took some sandpaper and tried to scuff it up a little.


It pretty much looked the same after a few hours, so I put hydroperoxide and some salt in a spray bottle and began spraying the scraped areas. As you can see it immediately started to rust!!! So I sandpapered a little more in spots and edges (not too uniform so it seemed natural) and then let it sit with vinegar again for a bit and then sprayed the hydroperoxide mixture some more until I achieved the look I wanted or got tired - which ever came first.


Once it dried over night, I wandered around the house looking for things to put in it and bought some cheap fake greenery to fill in the gaps. I also made a cute little sign to go in it that I will post later. Right now, this is my farmhouse every day look but I am super excited to change this up with holidays and seasons. So watch Facebook or Instagram for new themes.


Comments
Post a Comment