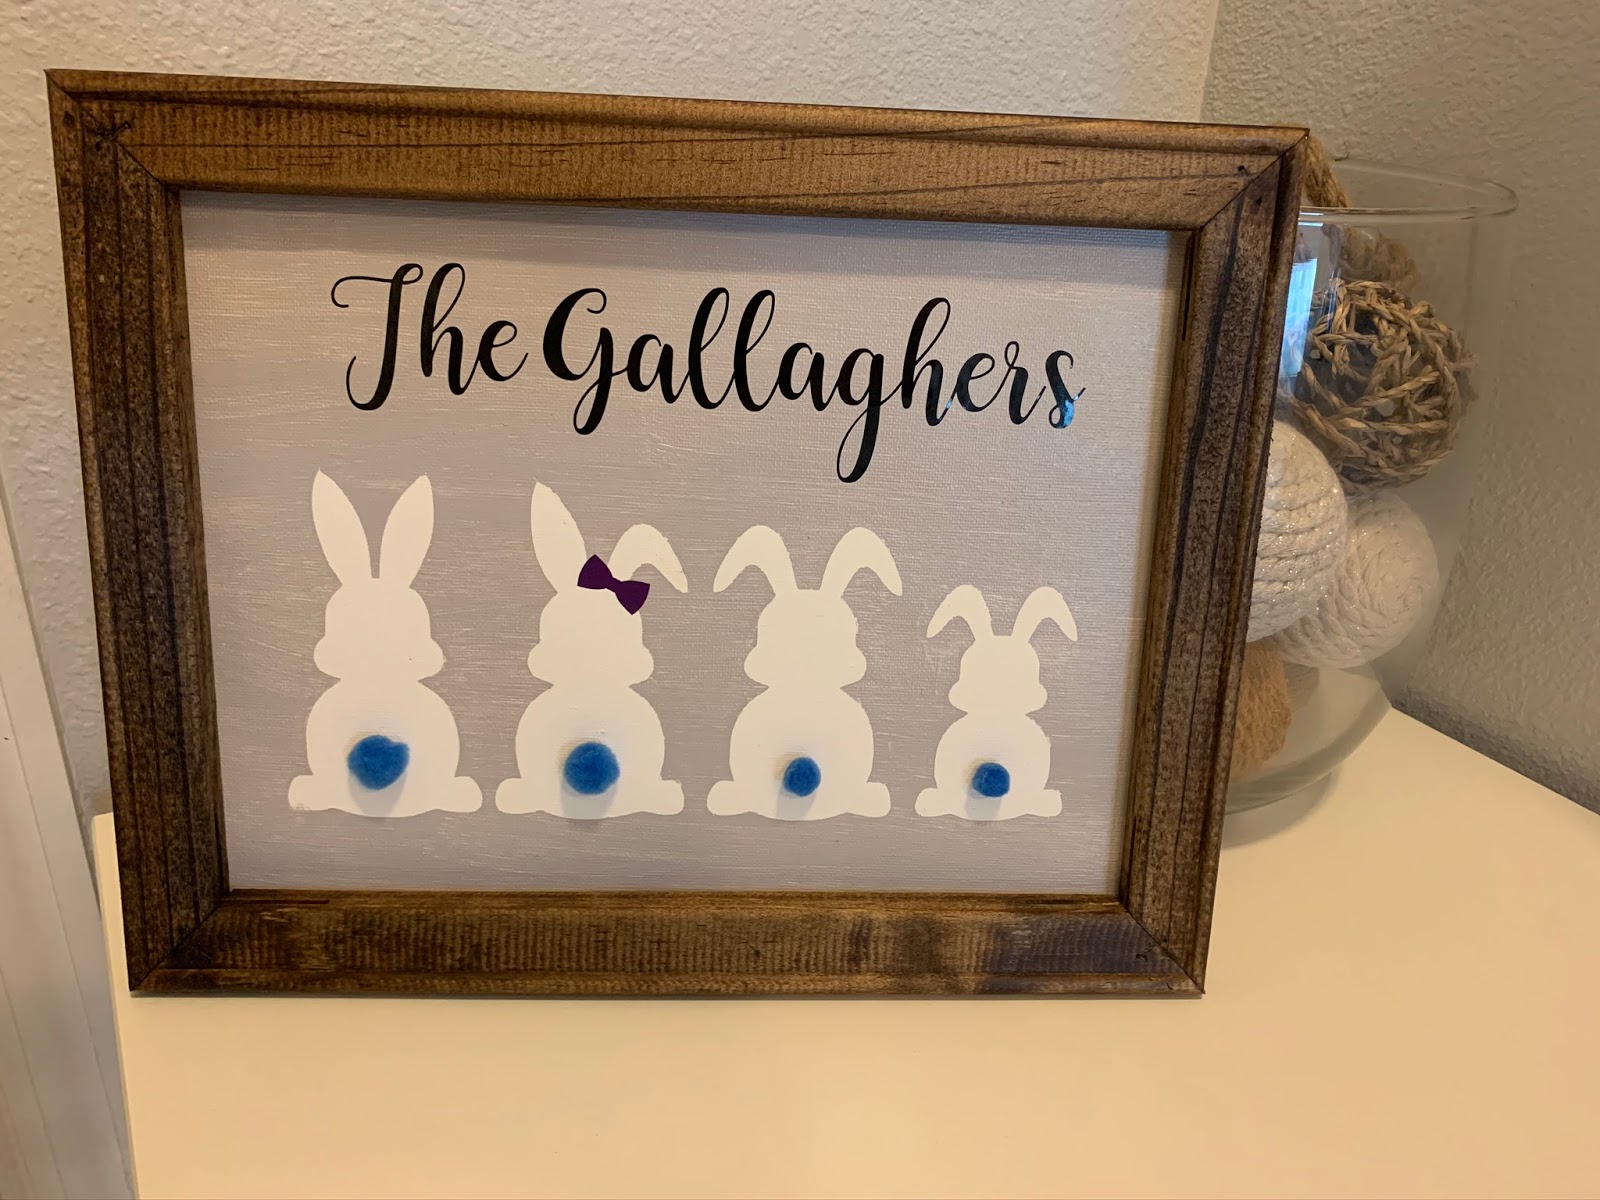
Family Easter Bunny Sign
I had two canvases in my craft closet that had been there forever, so I decided to try this method to make an Easter sign using other things I had around the house. This "safer at home" order has become a game to use craft supplies! Once Covid-19 is over, this would be a great $5 craft party idea. You can either recreate this one, or come up with a new theme based on when you have your party.
Supplies
- A canvas for painting. Any size you choose. The cheaper the better since you need to dismantle it and well made ones are harder to do. You can buy them in bulk and prices will vary but on average they are less than $2 each.
- Like most of my projects, I use some vinyl and my Cricut. It depends on how much you use, but I am estimating around $2 for it.
- Again, I assume you have paint and/or stain already (and brushes) and do not add it to the cost.
- Flathead screwdriver or staple remover (already on hand, not added to cost)
- Staple gun and some staples. You might use $.50 worth of staples, if that.
- Any other embellishments you decide to use. I used some pom poms I had laying around. You can use anything, including more vinyl. Costs will vary.
- Mod Podge (optional)
Total cost = $4-$5
Instructions
Make sure your canvas has easy removable staples around the frame. This is why cheap ones are better.

The first thing you need to do for this project is to carefully remove the canvas from the frame. If you have a staple remover, that works best. But I also tried it with a small Flathead screwdriver and got good results. Don't worry about a little tearing as you will be cutting the canvas to fit later. You can also use a box cutter to cut around the staples and get it off.

Once done, you can easily separate the canvas from the frame.

At this point, I suggest painting or staining the frame if you plan on doing that. This will give it a chance to fully dry while you are doing the other steps. Or you can leave it natural.

If you plan on using a stencil, do the following steps. If not, you can skip to painting your canvas.
Create your design on your Cricut (or your friend's) and determine where it should be placed on your canvas. Then place the vinyl on the canvas and press down hard to make sure there are no air gaps where paint can seep in.


My tip for using any stencils, on canvas or wood or anything, is to seal the edges with Mod Podge. This will seal the edges so paint doesn't seep through, yet doesn't affect the paint. This will ensure you get the crisp edges you want. But you don't have to.


Then completely paint over your canvas. Allow to the paint to dry some but not all the way and then carefully peel your vinyl up to reveal the unpainted canvas below it. I use weeding tools or dental picks to do this.


Once the canvas is completely dry. Finishing adding your vinyl wording and any other embellishments you want. I used Pom Poms for the tails since that is what I had, but you can also use vinyl circles - or little flowers would be cute.

Lay the frame on top of your canvas and center your design. Draw around the frame with pencil so you know where to cut the excess canvas. Then cut on the line you made around your creation with scissors so it doesn't poke out from behind the frame.
You will then need to staple the canvas to the back of your painted frame. I suggest using a little painters tape to hold it centered, but if you have a steady hand (I don't) you don't have to.

Once you have stapled it all around the edges, you are done!


Comments
Post a Comment